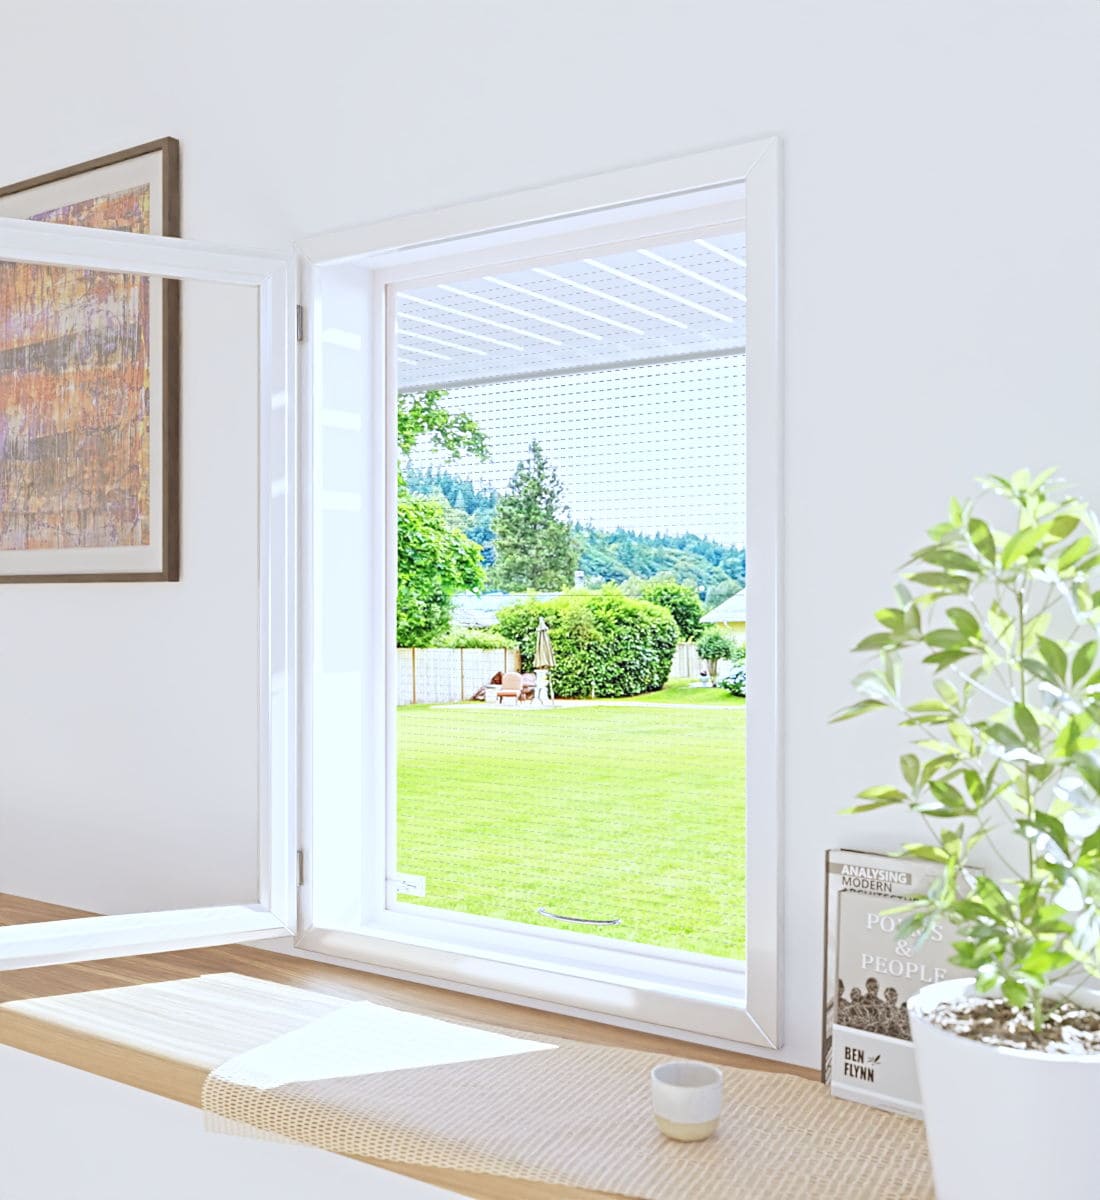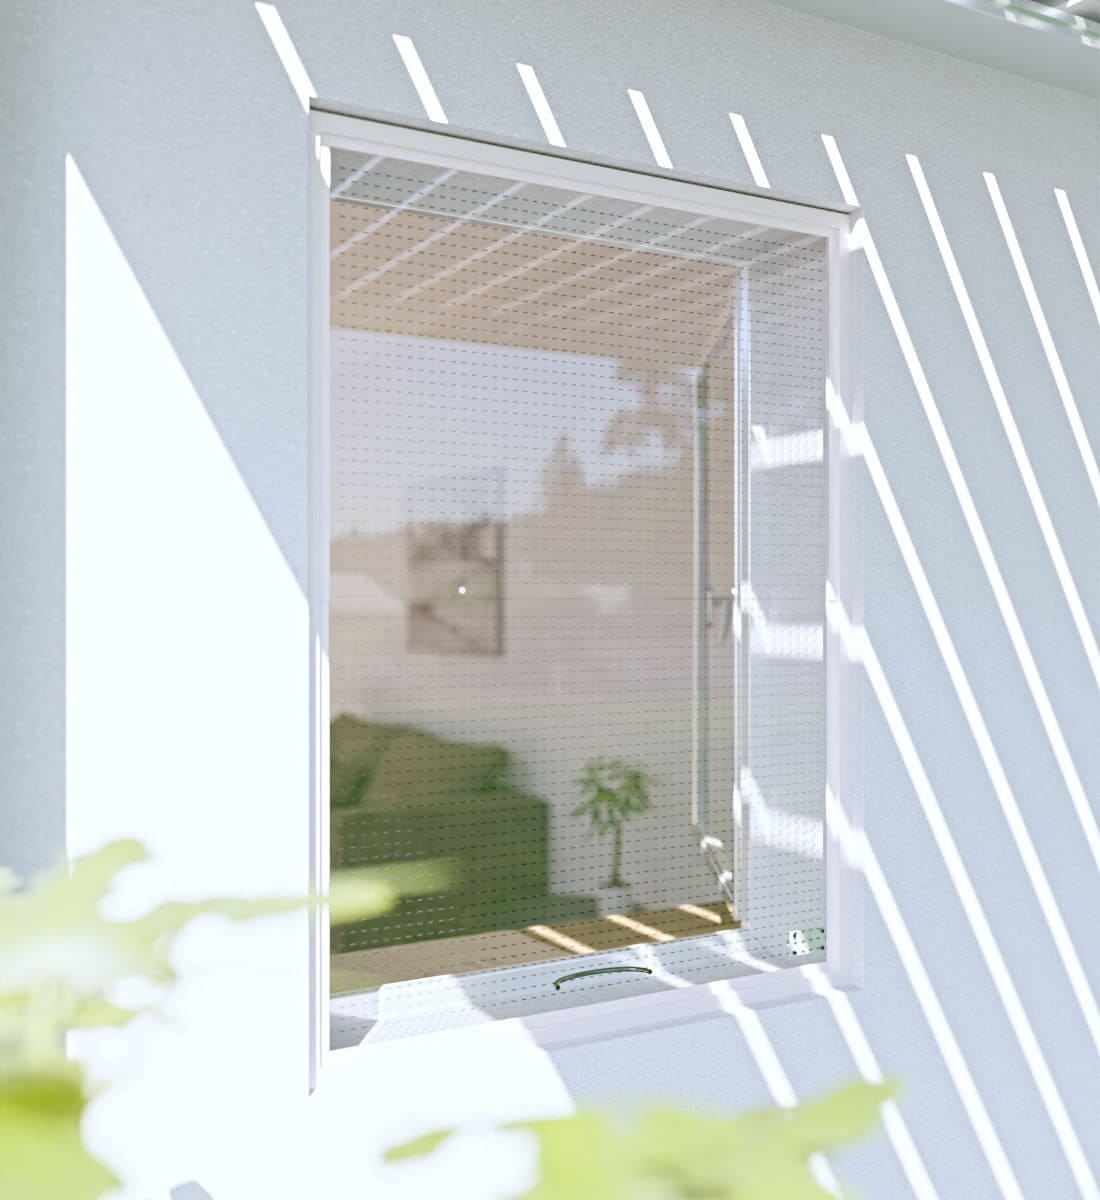


This product is designed to optimize the use of available space. It is particularly recommended in environments where space is limited.
The Mostiglass® sash frame uses small magnets which are discreetly integrated to ensure the watertightness of the system.
3 basic colors are available for the frame: white (RAL9010), anthracite grey (RAL7016) and light grey (RAL9006).
They cover most aesthetic needs.
Our frames offer a wide range of optional colors, with over 150 shades available according to the RAL color chart.


The Mostiglass® sash frame offers many advantages
for a good fit, we recommend that you take note of the following information.
Installation of this product presents no particular difficulties. The use of a drill is recommended for the fixing points on the wall.
In strong winds or unusual weather conditions, the sliding part (lower part of the product) may slightly open.

Position the frame in the desired location to check its positioning.
Using a pencil, mark the precise location of the fixing angles in correspondence with the frame.
Match the threaded inserts in the frame with the pre-drilled holes in the angle brackets.
After removing the frame, proceed to fix the angles at the level of the marks made.
The widest part of the angles is placed against the wall, the narrowest part will be in contact with the frame.
Attention: this step requires the use of a drill and hardware suitable for the material for fixing to the wall.
Once the angles are fixed, put the frame back in position.
The knobs help hold the frame on the support.
For good sealing, brush seals are provided and can be installed in the gaps to be filled around the frame.
To ensure good adhesion to their installation, clean with alcohol the part of the frame where the brush seals will be glued.
Brush seals are supplied with this product and are to be used to plug the gaps (if necessary) between the Mostiglass® product and the joinery and thus ensure the sealing of the system for optimal functioning of Mostiglass® technology.
In the case of final installation of the product the brush seals can be replaced by silicone seals.
GoCap, is a production company that manufactures products to your dimensions.
For installation, we work in collaboration with craftsmen, independent workers or handymen chosen by the customer.
Indications on the site allow you to take measurements.
We then remove a working set to make installation easier.
The dimensions to be given are those of the panel where your Mostiglass system will be positioned.
In most cases, the panel is the external tunnel built around the opening.
Roller frames may be removed occasionally.
You do not have to remove Mostiglass® in winter.
They are resistant up to -40°C.
Its buffer effect allows for gentle ventilation, without drafts and without being gripped by the cold. This is a way to protect closed windows and save on heating.
The material used is as transparent as a window.
Up close, the perforations are visible.
When viewed overall or from a distance, the Mostiglass® is almost forgotten.
The brightness is not attenuated, the view and the colors are respected.
RAL is a standardized color reference.
This helps avoid errors, it is accessible on the internet
or by clicking on this
link
.
Information relating to the use of cookies on the Mostiglass® website®
By using the mostiglass.fr site, you accept the use of functional cookies in order to improve
your experience of
navigation.
By clicking on "Accept" you consent to the use of trackers for the sole purpose of analyzing
the site's audience.